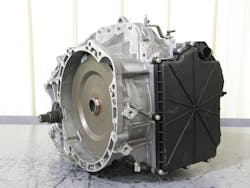
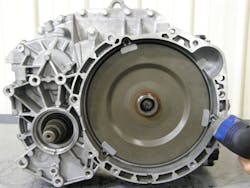
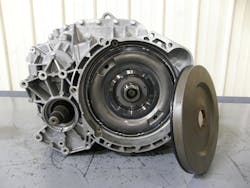
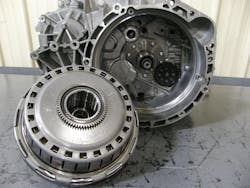
Getrag, the maker of several Powershift Dual Clutch transmissions both wet and dry, is beginning to show up for repairs outside of warranty. The most common of them is the wet clutch 6DCT470 in Mitsubishi’s Lancer EVO and Ralli-Art vehicles (Figure 1). Mitsubishi calls this its 6-speed W6DGA transmission, which it matched up with its 2.0L Turbo engine.
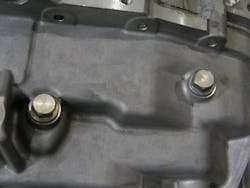
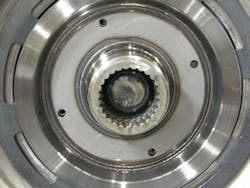
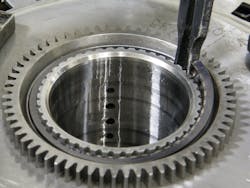
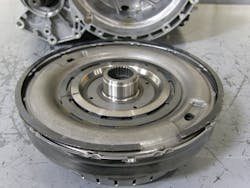
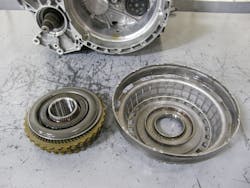
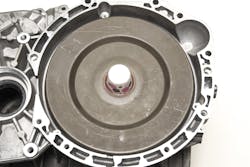
Once the cover is removed (Figure 5), the clutch housing assembly comes into view. This assembly is held fast to the sealing ring tower via a spanner nut. This will require a special tool to unscrew it from the tower. As you look at the center of the clutch housing, there are four access holes (Figure 6). A long pick can be inserted into one of the holes to align the slots that are in the two internal clutch drive baskets so that a special tool can reach the spanner nut (Figure 7).
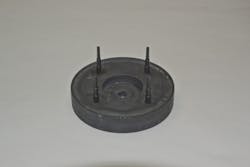
The unit shown in this article was shipped in from the Netherlands by Automatic Choice to the Alto Products location in Atmore, Ala. It was there where this unit was disassembled. At the time, this special tool was not available so Alto’s in-house tool and die department made one (Figure 8).
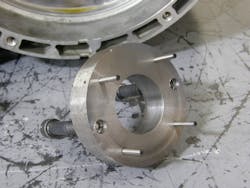
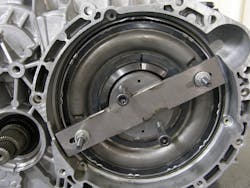
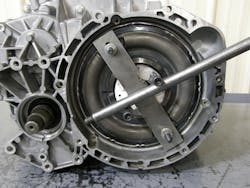
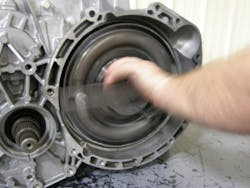
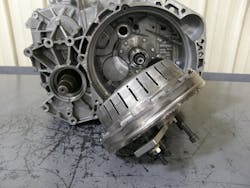
Once the tool was in place the spanner nut was loosened. It only takes about six or seven complete counterclockwise rotations to fully release the spanner nut from the ring tower (Figures 9, 10 and 11). With the unit being on its side, care will be needed to remove the housing assembly by giving it a slight lift for it to clear the sealing rings (Figure 12). Otherwise, the unit could be placed on to its back to release the spanner nut and lift the assembly out of the transmission.
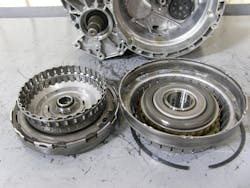
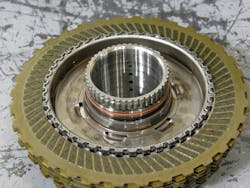
If you are careful, this drum assembly can be disassembled to replace clutches and molded pistons. It is highly recommended to mark parts before disassembly to be used for alignment whenreassembling the housing to eliminate the possibility of vibrations.
After the work is completed with rebuilding the assembly or a new assembly was obtained, to install it properly requires a bit of finesse. Nuttall offers his experience on how he successfully installs the drum assembly.
He makes a tool using 1½-inch PVC pipe flange as a base. He inserts a 4-inch length piece of 1½-inch PVC pipe into the base and he then fastens a 1½-inch PVC pipe coupler over the pipe. The coupler needs to have a 2.41-inch O.D. and a 2.11-inch I.D. for this to work properly as this is the end that will go into the drum assembly and align the spanner nut (Figure 22).
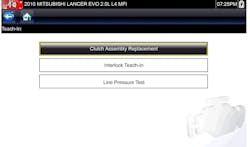
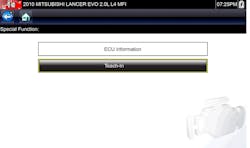
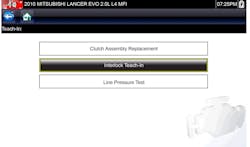
To finish the clutch replacement the sealed cover needs to be installed. The inner and outer seals need to be lubricated before installation. To prevent damage to the inner seal during the instillation process, special tool M992314-01 can be purchased. Bob simply uses a 3 oz. Solo Bath cup (Figure 24). Once the cover is in place, it can be carefully tapped down using a dead-blow hammer followed by the installation of the 3 clutch cover tabs and you are done. Once the transmission is installed the Tech In programming will be required for the job to be complete.
About the Author
Wayne Colonna
POWERTRAIN PRO Publisher
Wayne Colonna is president of the Automatic Transmission Service Group (ATSG) in Cutler Bay, Fla., and a frequent speaker/instructor for transmission training around the globe.
